Picture this. Your toddler grabs a toy fork and heads straight for the living room outlet. In seconds, you scoop them up. But what if you didn’t see it coming? The U.S. Consumer Product Safety Commission notes over 24,000 kids under 10 land in emergency rooms each year from outlet shocks. That’s about seven children a day.
These incidents often happen because little ones poke fingers or hairpins into slots. Burns follow fast. Childproofing electrical outlets stops that risk cold. It brings peace of mind and follows safety standards.
This 2026 guide covers the dangers, top protectors like plugs and tamper-resistant outlets, simple install steps, and mistakes to dodge. Parents, let’s make your home safer today.
Why Childproofing Your Home’s Electrical Outlets Saves Lives
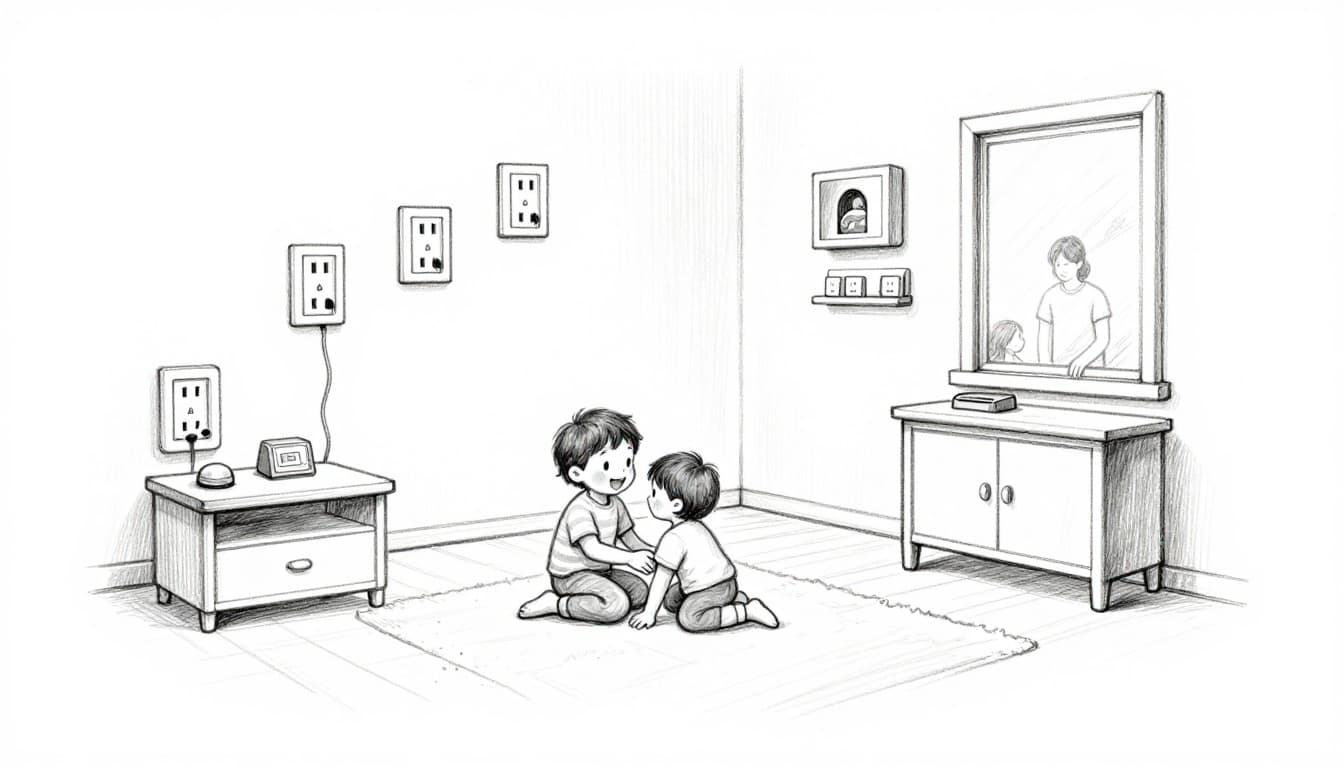
Kids under five love to explore. Outlets sit at their eye level. A quick poke with a key or toy sends electricity surging. Burns hit fingers first. Worse cases spark fires or heart issues.
Data from the Electrical Safety Foundation International shows boys face higher odds. Half the injuries strike two- and three-year-olds. Most occur at home with everyday items like hairpins or plugs.
The National Electrical Code helps now. Since 2008, new homes need tamper-resistant outlets. The 2026 update requires them in bedrooms, kitchens, garages, and more. These block single objects. Old homes lag behind. That’s why add-ons matter.
Childproofing cuts ER trips. It meets UL standards for tested gear. You gain calm nights. No more watching every move. Instead, kids play free.
Benefits stack up. Fires drop because shocks don’t overload wires. Parents avoid huge bills. Most importantly, your family stays whole.
The Best Outlet Protectors to Block Curious Little Hands
Pick protectors based on your setup. Empty outlets need plugs. Used ones call for boxes or slides. Permanent fixes mean swaps. Each type suits busy homes.
Start with basics. Then match to rooms. Reviews from 2026 highlight durable picks that blend in.
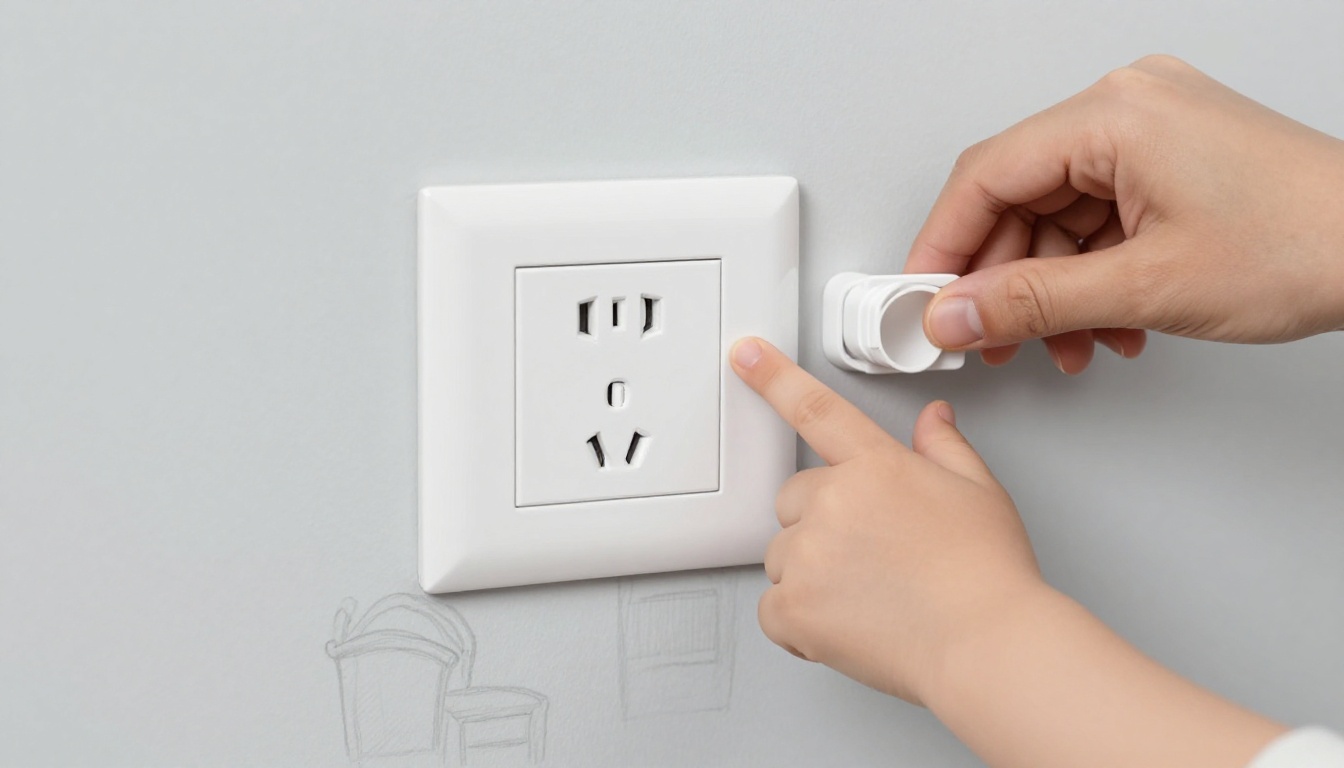
Plastic Plugs and Caps for Quick Fixes
These slide into empty slots. No tools required. They cost under $10 for dozens, like Mommy’s Helper packs.
Choose tight fits. Kids yank loose ones easy. Clear versions hide well. They’re great starters for rentals. However, they block plugs until removed.
Use them in guest rooms. Swap for better long-term. Test by pulling hard. If it pops, pitch it.
Sliding Covers That Stay Put During Daily Use
Screw these over faceplates. They slide open for plugs, then snap shut. Safety Innovations leads 2026 lists for auto-close.
They beat plugs because kids can’t pry them off. New styles match white or ivory walls. Install takes minutes. Perfect for living areas.
Pros include easy adult access. Cons? They add bulk. Still, they shine in high-traffic spots.
Box Covers to Safeguard Plugged-In Gear
Devices like chargers stay safe inside. Wappa Baby boxes enclose cords fully. Impact-resistant plastic holds up to tugs.
Screw them over outlets. Cords exit through slots. No pinching happens if aligned right. Great for nurseries with monitors.
They cost $15 or so. Reviews praise the lock. Kids see but can’t reach.
For more top picks, check Babylist’s 2026 outlet cover roundup.
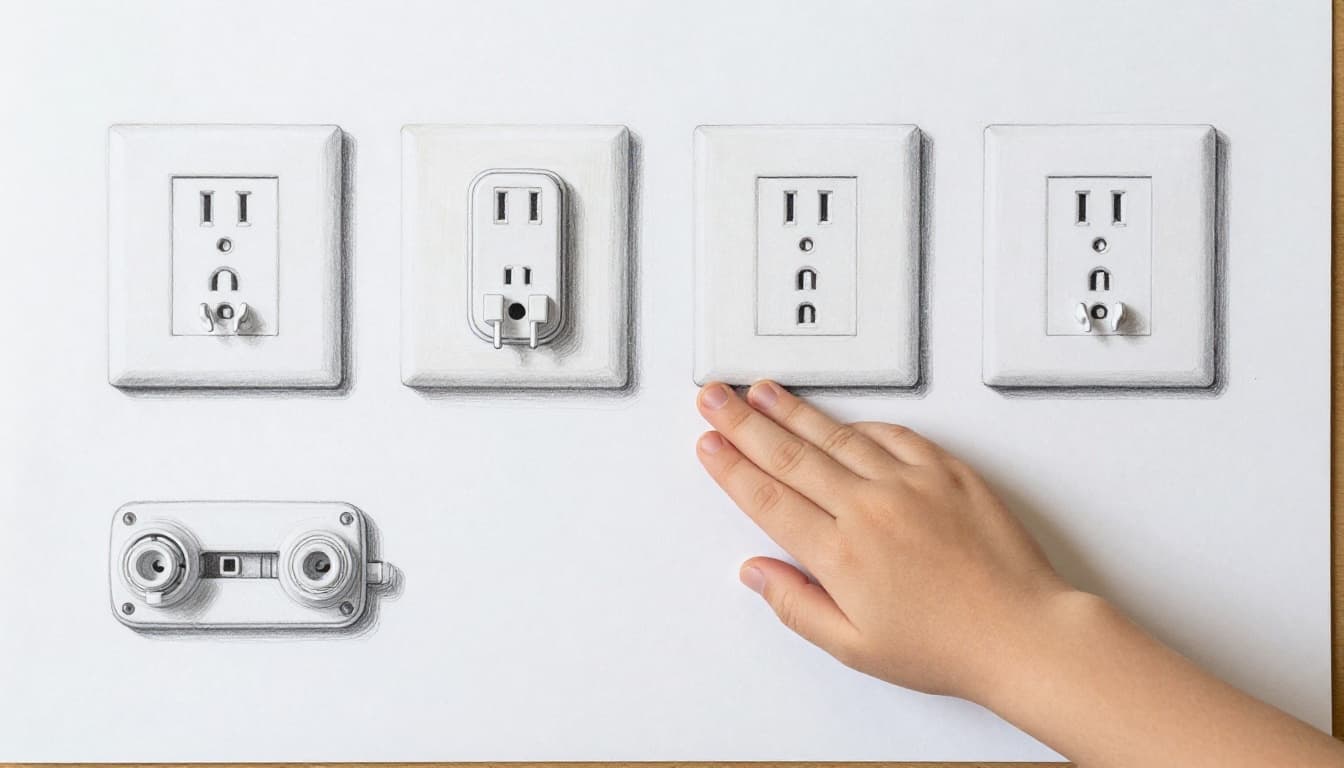
Tamper-Resistant Outlets for Permanent Peace
These have spring shutters. Plugs push both slots to open. Single prongs fail. UL tests prove they block toys.
NEC 2026 mandates them everywhere kids reach, except high spots. New installs use them standard.
Older homes benefit most. They look normal. No covers to forget.
Easy Installation Steps Every Parent Can Follow
Safety leads. Flip the breaker off first. Test with a plug light. Gather screwdrivers and a voltage tester. Work one outlet at a time.
Double-check power stays off. Then follow type-specific steps. Test everything after.
Popping in Plugs Without Any Hassle
Grab your caps. Push firm into slots. Hear a click? Good.
Tug hard to test. It stays? Set. No power shut needed. Do all empties fast.
Replace yearly. Kids grow stronger.
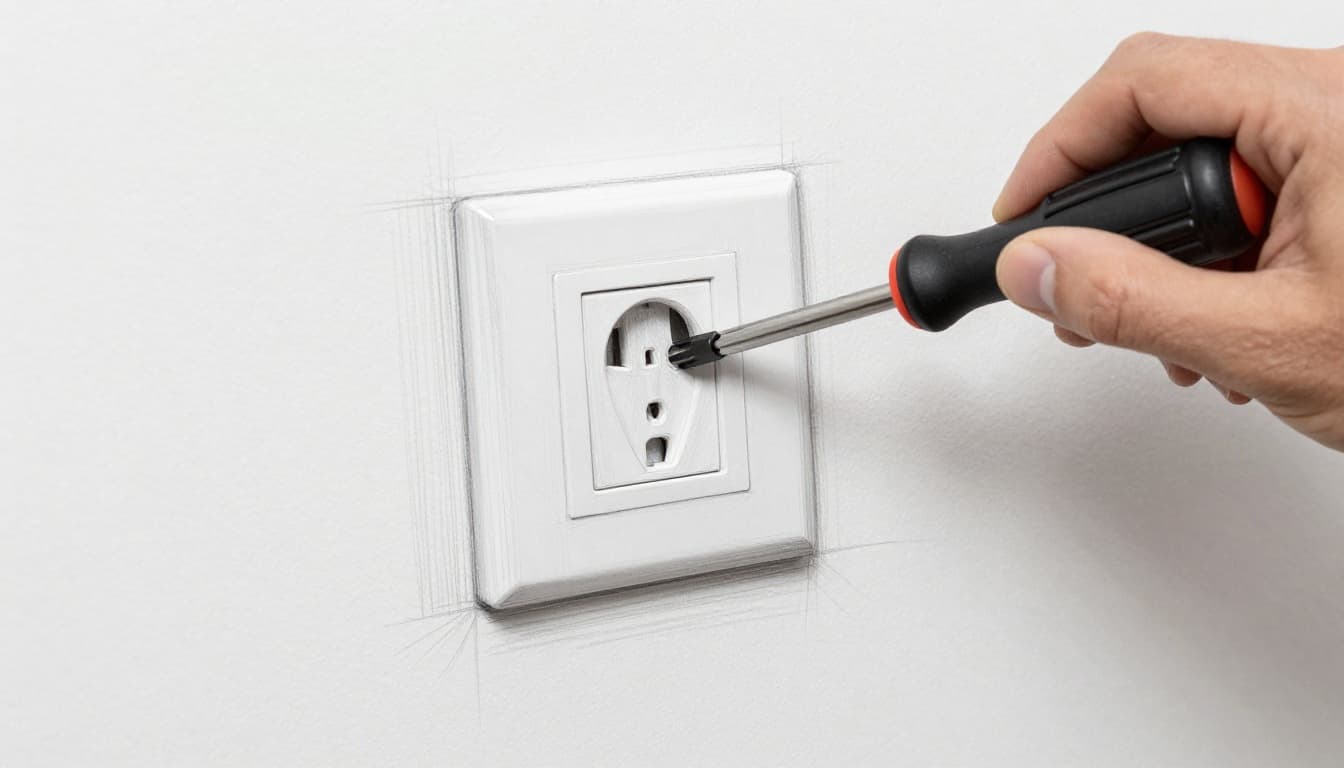
Screwing on Sliding or Box Covers
Shut breaker. Unscrew faceplate. Pull gently. No wires touched.
Align new cover. Slide cords in boxes first. Screw tight. Restore power. Slide to check.
See a full DIY outlet replacement guide for visuals.
Pro Upgrade to Tamper-Resistant Receptacles
Leave wiring to experts. Call a licensed electrician. They swap old for new.
Process matches wires. Black to brass, white to silver. Ground to green. Shutters test by poking one prong. No entry.
Costs run $100 per room. Worth it for life.
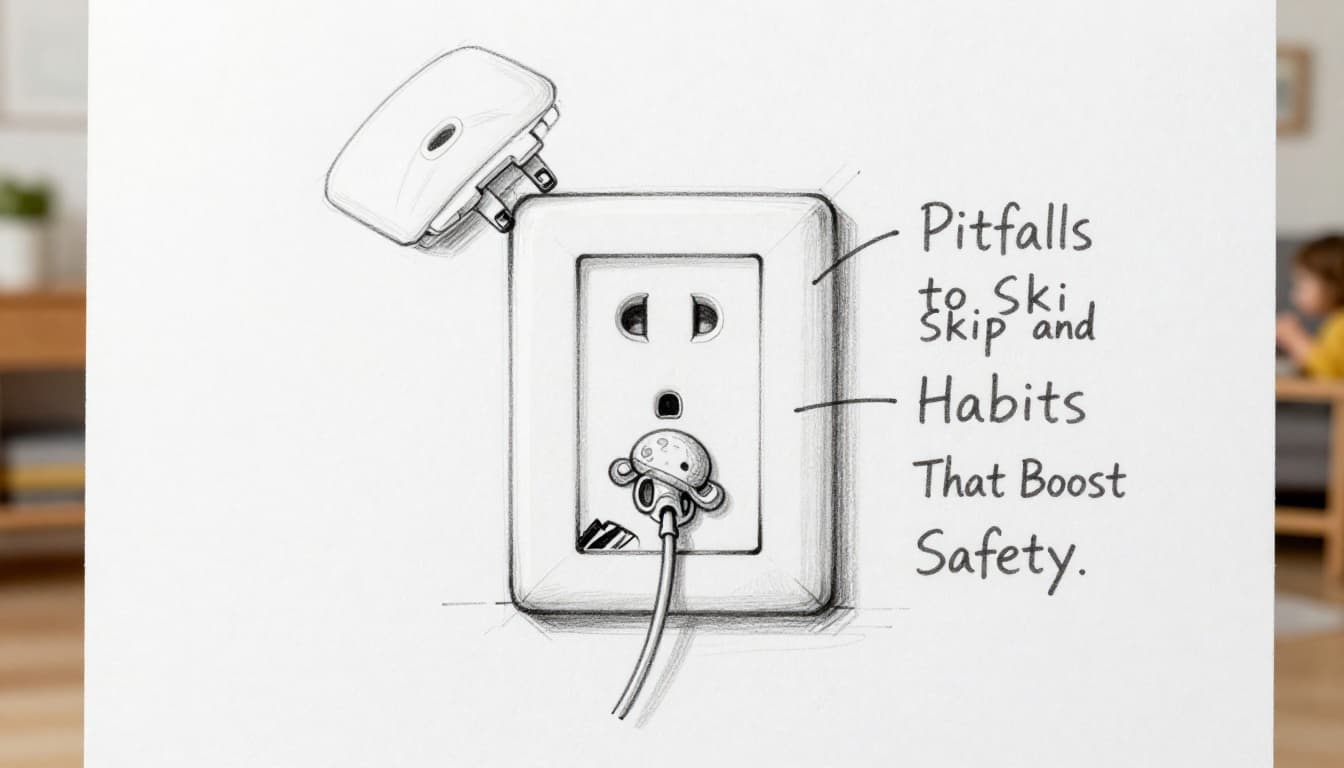
Pitfalls to Skip and Habits That Boost Safety
Loose plugs top mistakes. Kids pull them, then poke. Buy snug ones only.
Forget to close slides? Outlets tempt again. Check nightly.
Dangling cords invite yanks. Bundle with ties. Keep short.
Skip old wiring checks. Pros spot overload risks.
Avoid these with smart habits. Hide outlets behind furniture if safe. No block vents though.
Teach simple rules. “Don’t touch plugs.” Use 2026 smart plugs for remote off.
Inspect monthly. Add power strip covers for extras.
For full error list, read this babyproofing outlet tips post.
Childproofing outlets matches your needs to full protection. Right picks and installs dodge shocks. Act room by room today.
Check every spot. Call pros for wiring doubts. Your kids deserve safe play.
Safer homes mean more giggles. Share your fixes in comments. What worked best?